TEACHABLE MACHINES
FAST LINKS:TRAINED TEACHABLE MACHINE and IMAGES AND .arff
I have done a project using about 600 images that is able to try to recognize the fruits of Illicium Parviflorum, Illicium Verum and Illicium Anisatum.
Firstly, I used an extension (DownThemAll! in Firefox) to download in a massive way almost all the images that appear in Google Images about the commented fruits.
Teachable Machine
Next, I used the tool Teachable Machine to train an AI that is able to classify all the fruits when are recorded in real time, using as reference all the images of the fruits, you can try It by your own HERE.
Weka
Moreover, I used another programme called Weka. Weka is a collection of machine learning algorithms for data mining tasks. It contains tools for data preparation, classification, regression, clustering, association rules mining, and visualization. Weka is open source software issued under the GNU General Public License. They have put together several free online courses that teach machine learning and data mining using Weka. The videos for the courses are available on Youtube. Weka supports deep learning.
To start with Weka, I had to install the imageFilters (different filters) and wekaDeeplearning4j (WekaDeeplearning4j is a deep learning package for the Weka workbench. It is developed to incorporate the modern techniques of deep learning into Weka. The backend is provided by the Deeplearning4j Java library.) packages.
Secondly, I had to ran a python code to rename all my images at once to make It easier when writing the .arff's code.
import os
path = '(url with your images)'
files = os.listdir(path)
for index, file in enumerate(files):
    os.rename(os.path.join(path, file), os.path.join(path, ''.join(["(images)"+str(index), '.jpg'])))
After renaming all the images we have to write the .arff code (you can use my model on github to know the structure (images and .arff)). We have to put the name of the image and its class, then, we have to specify some things at the top of the .arff as seen in the model.
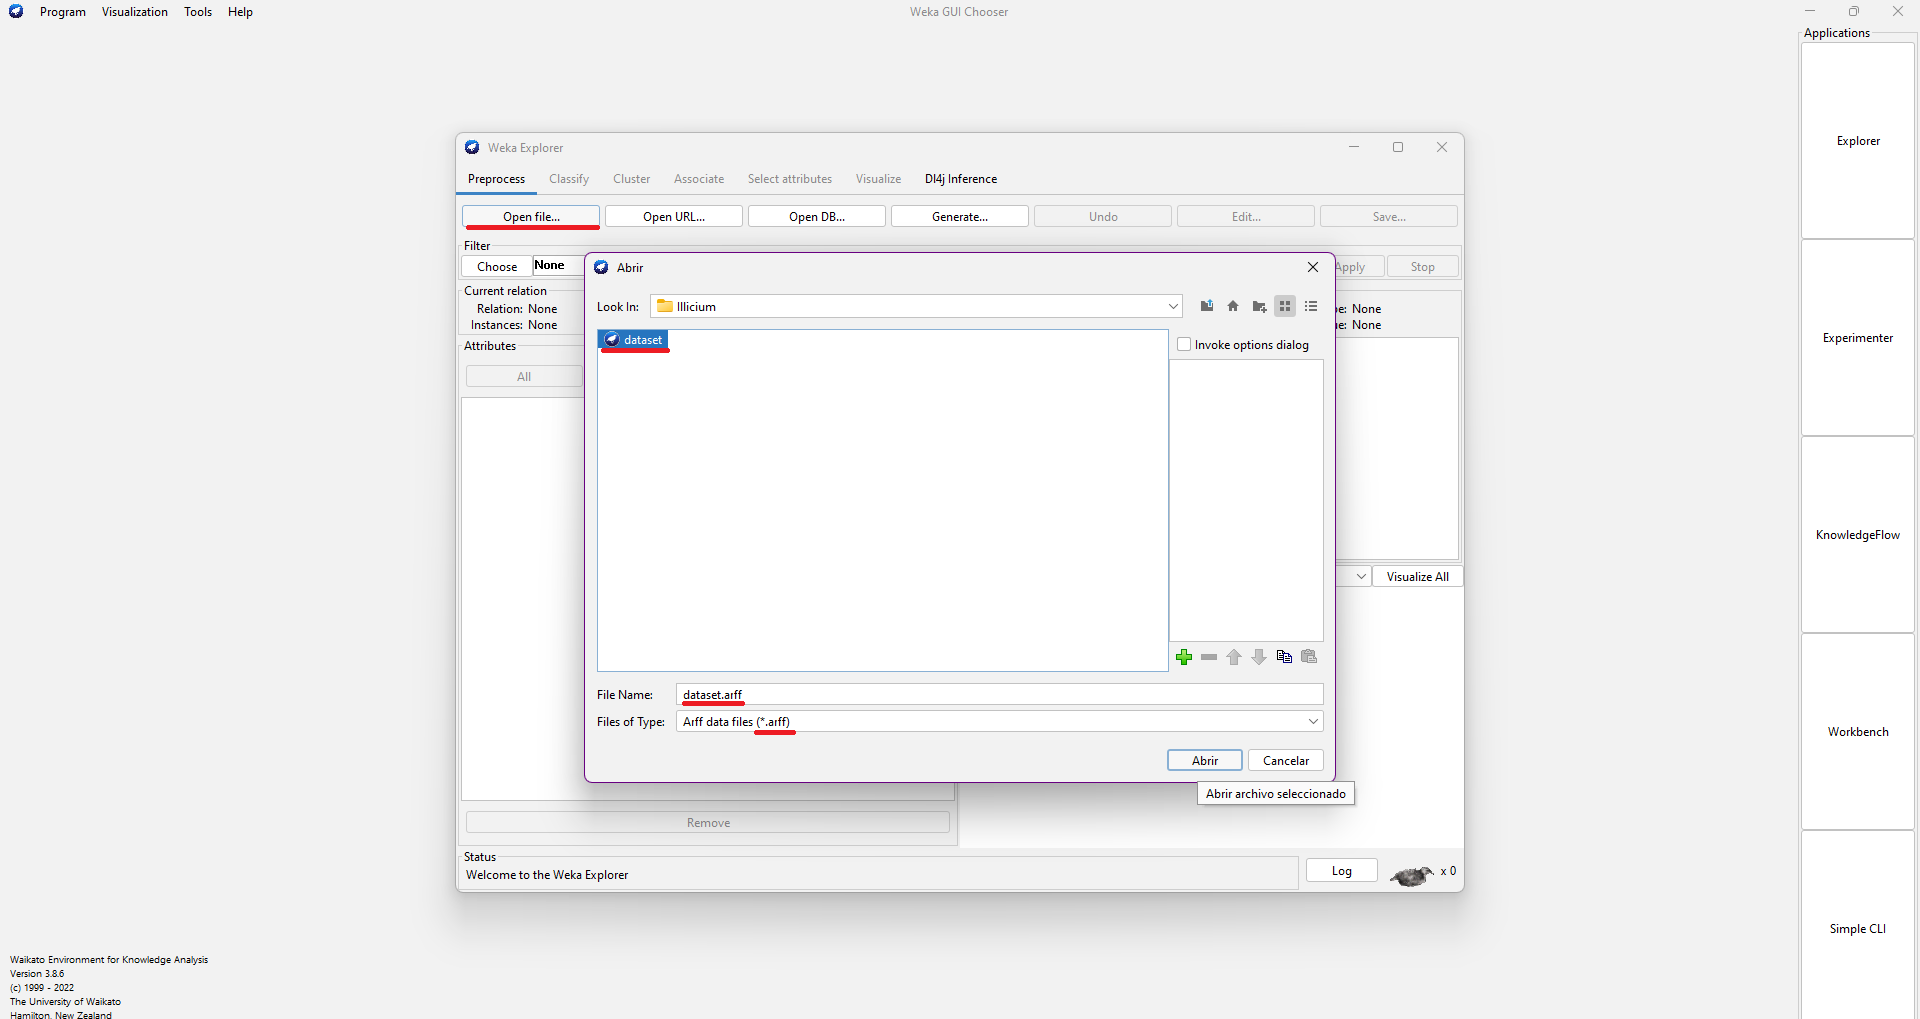
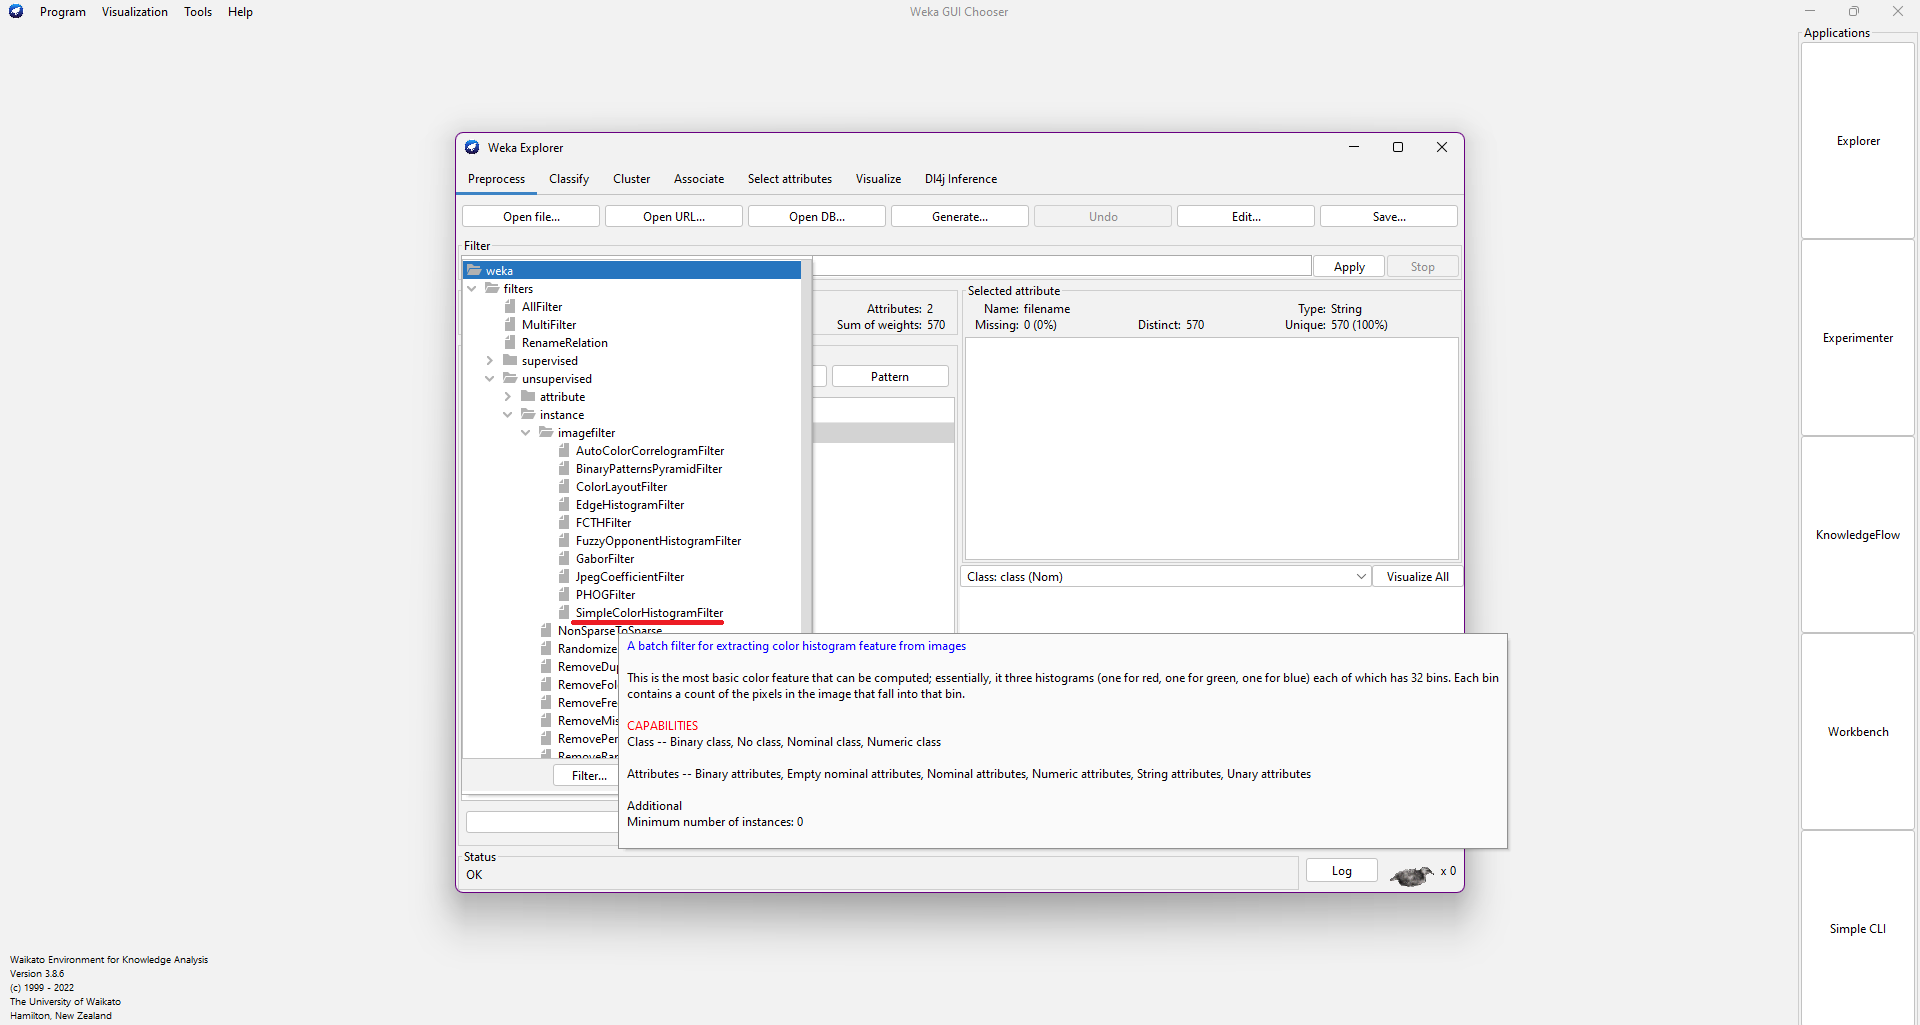
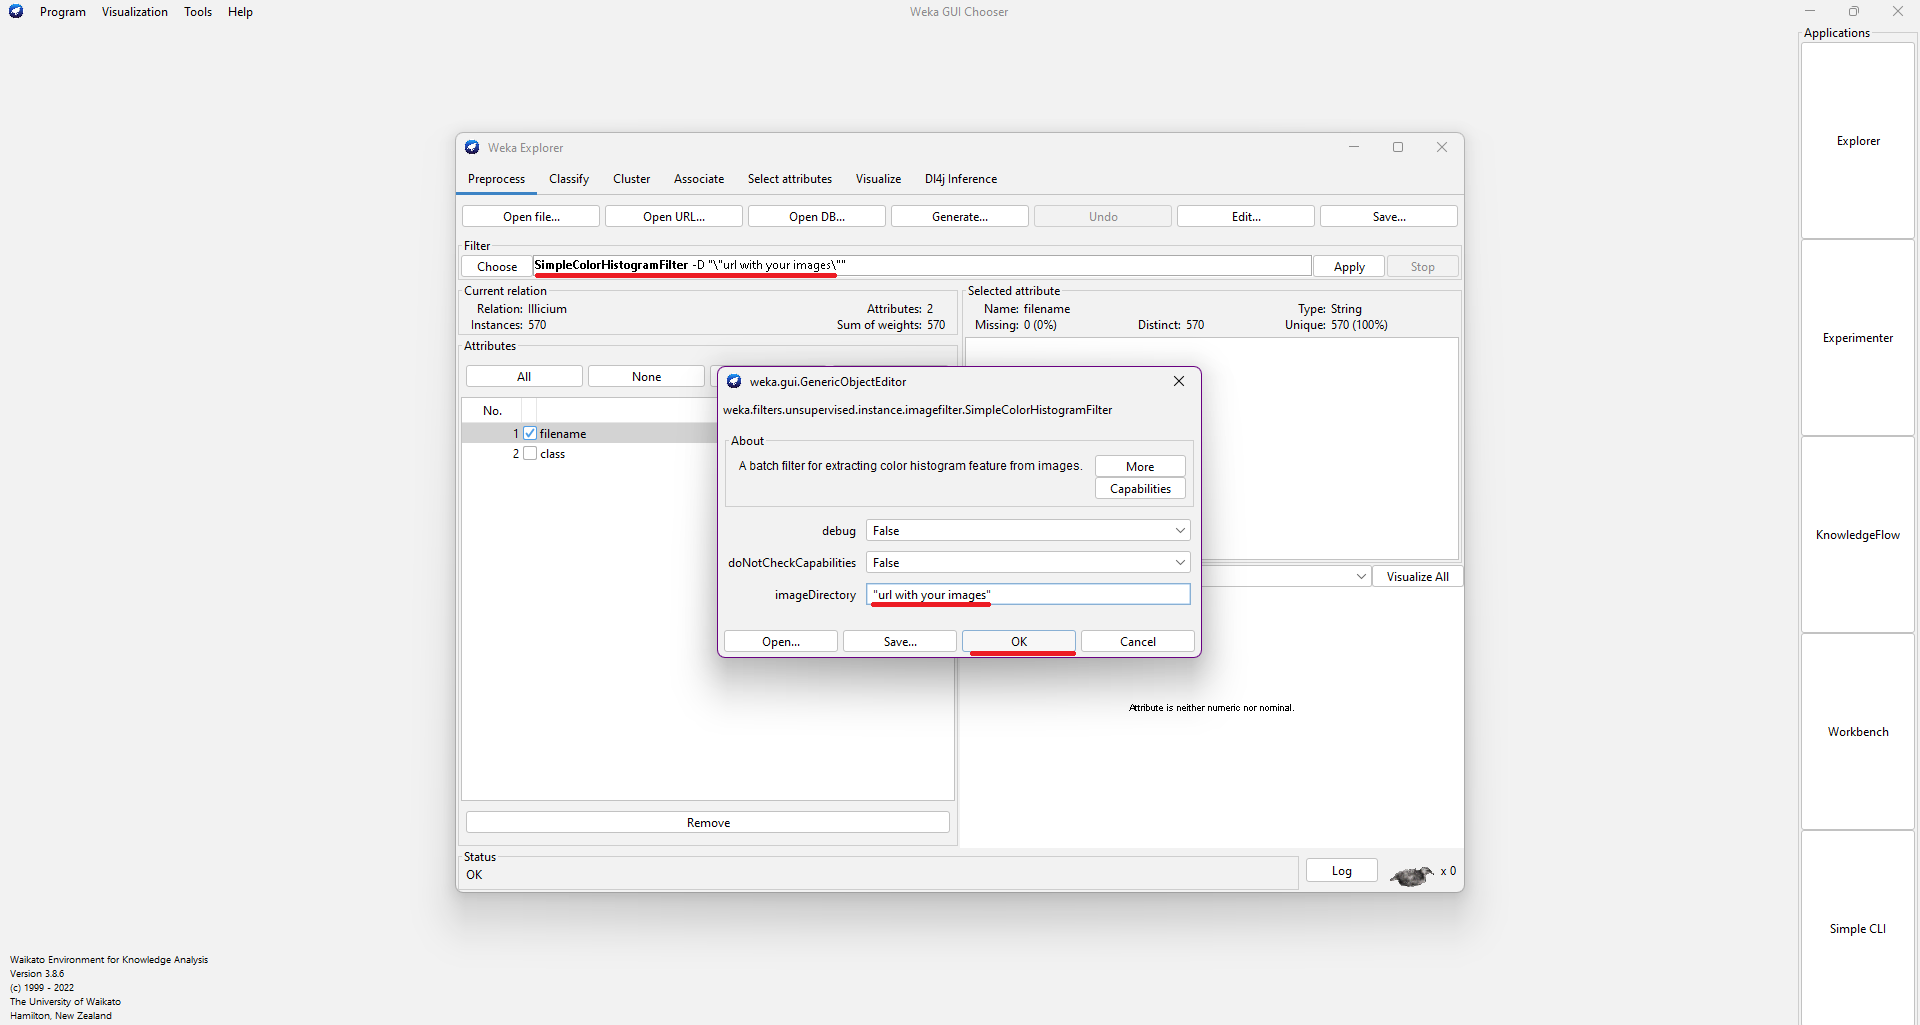
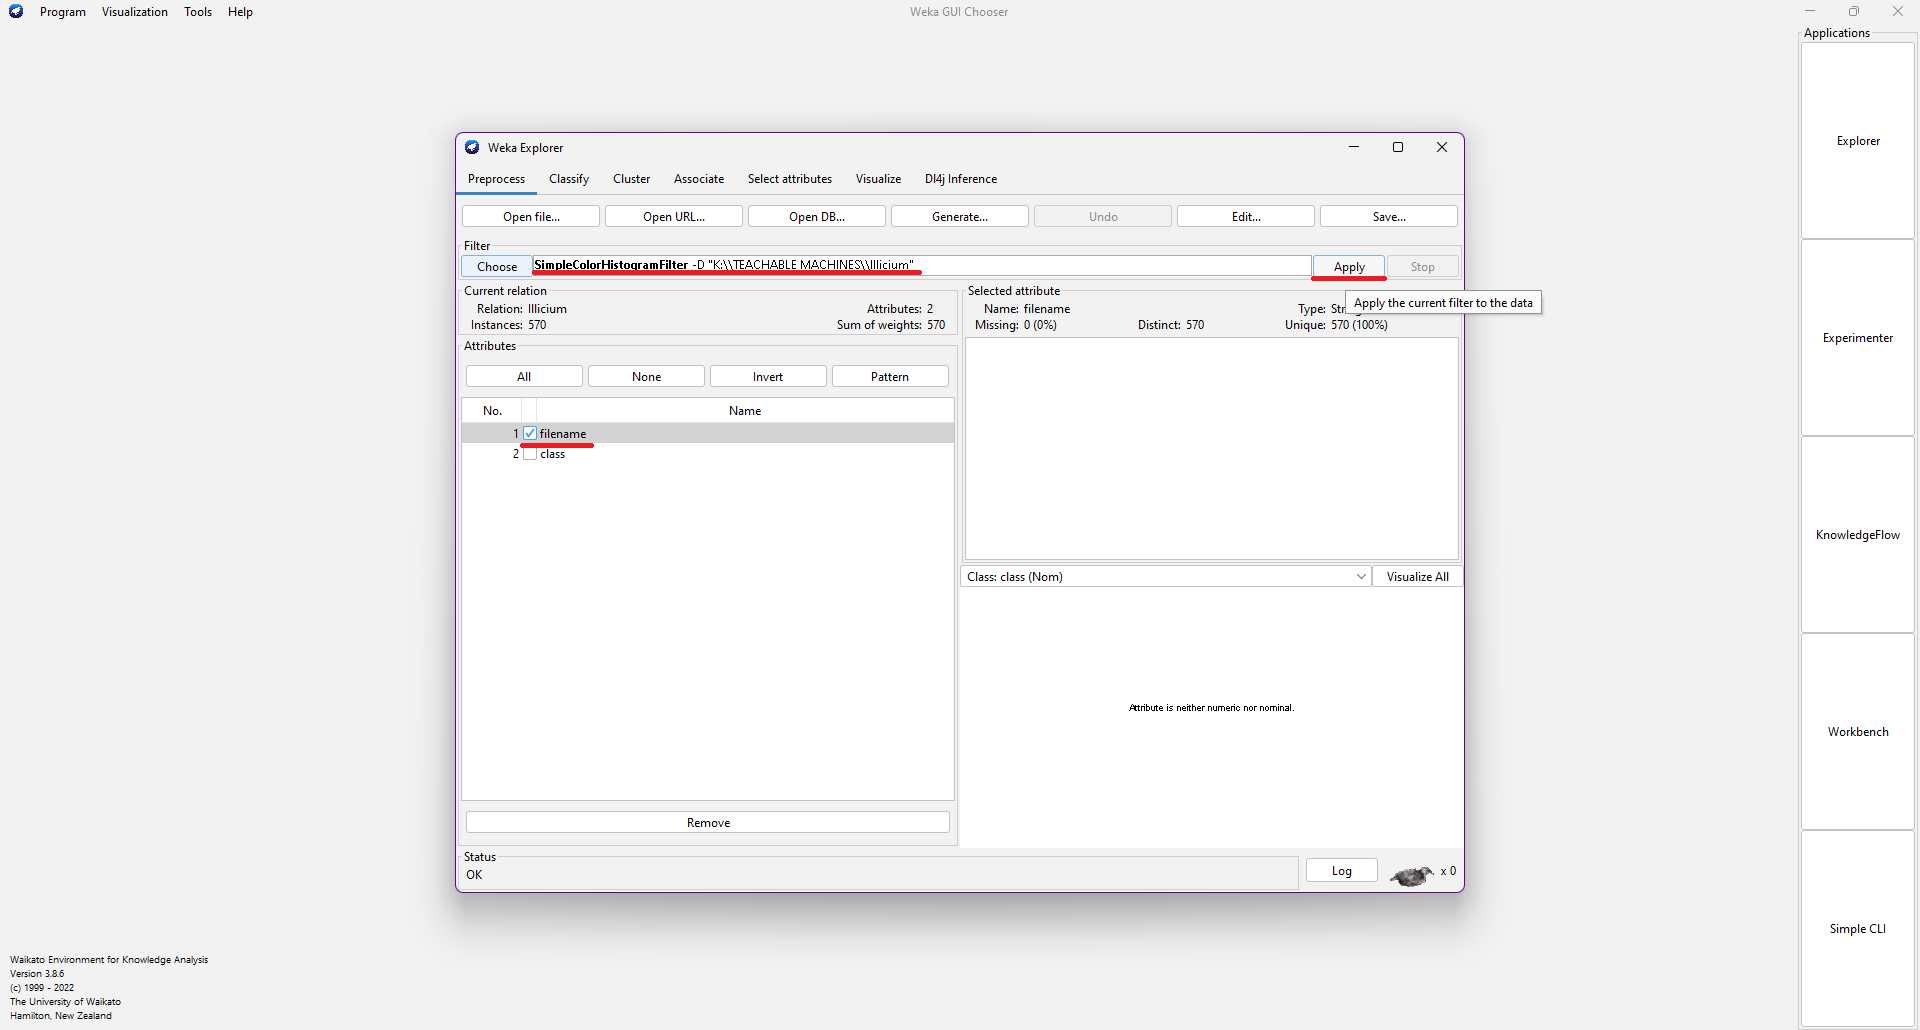
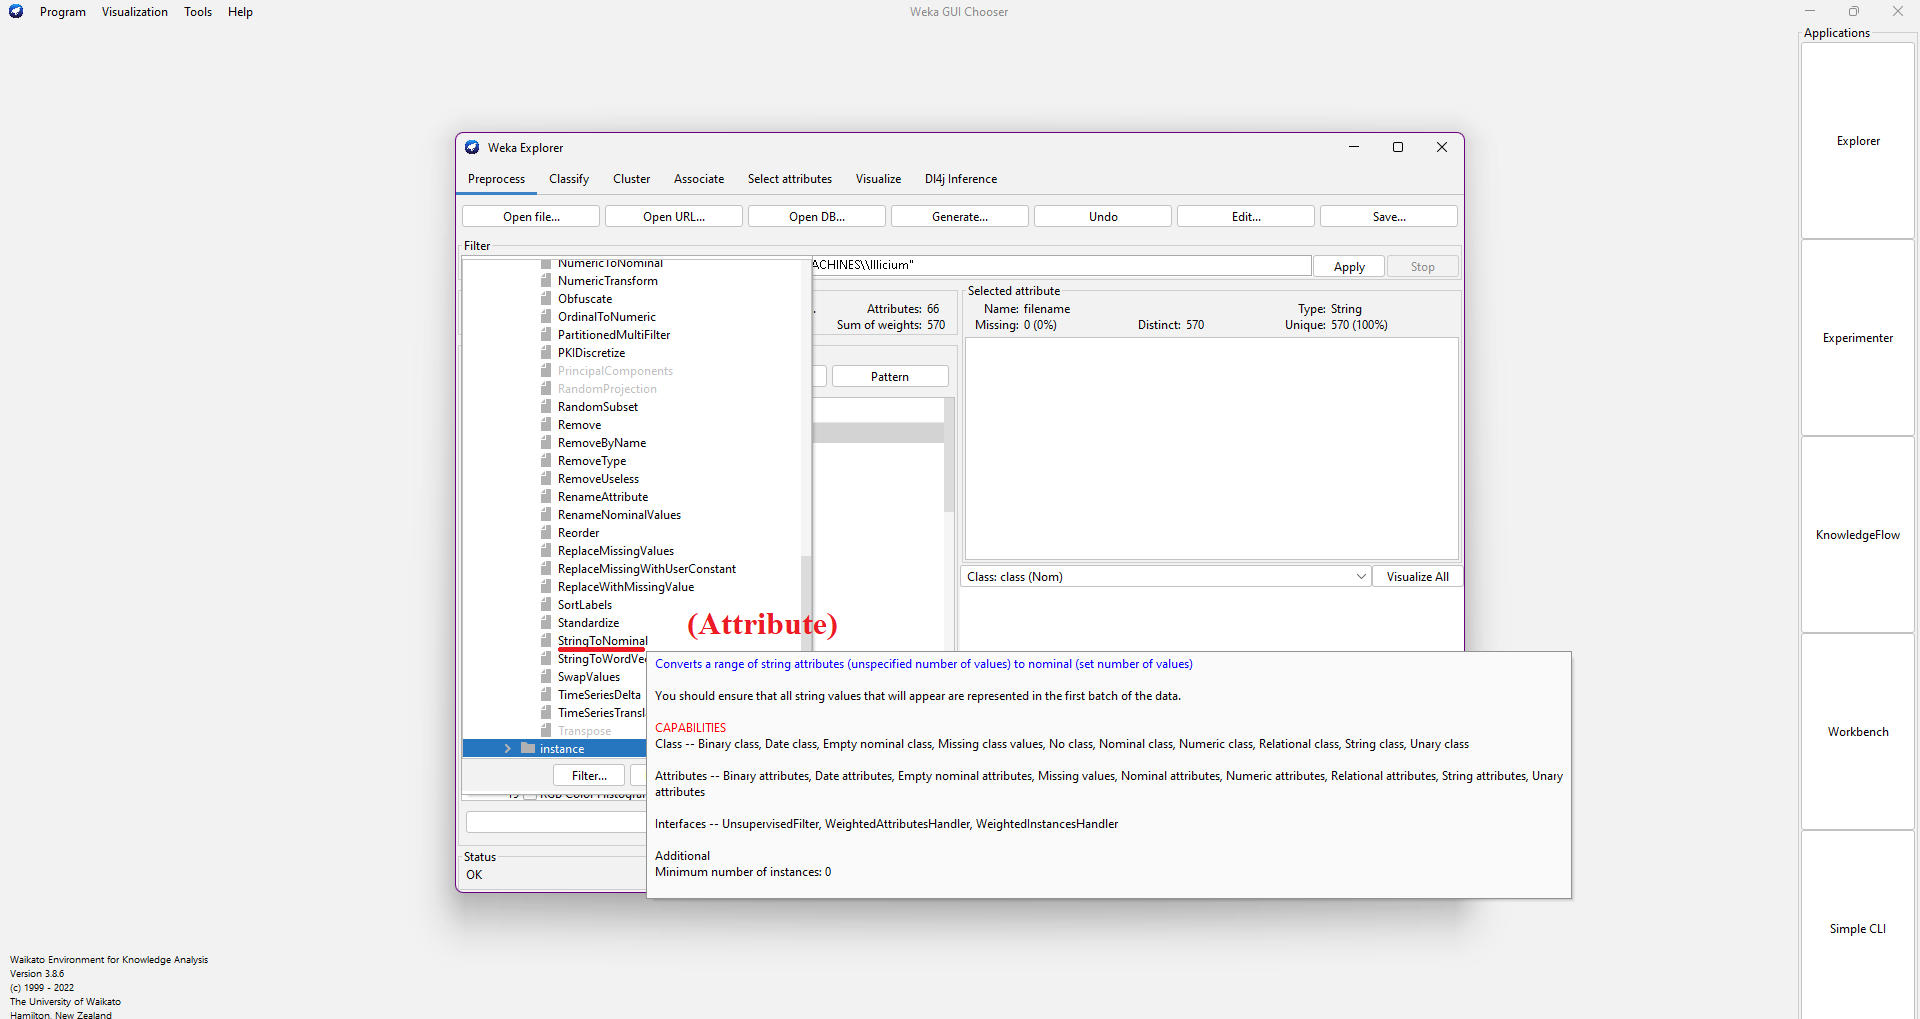
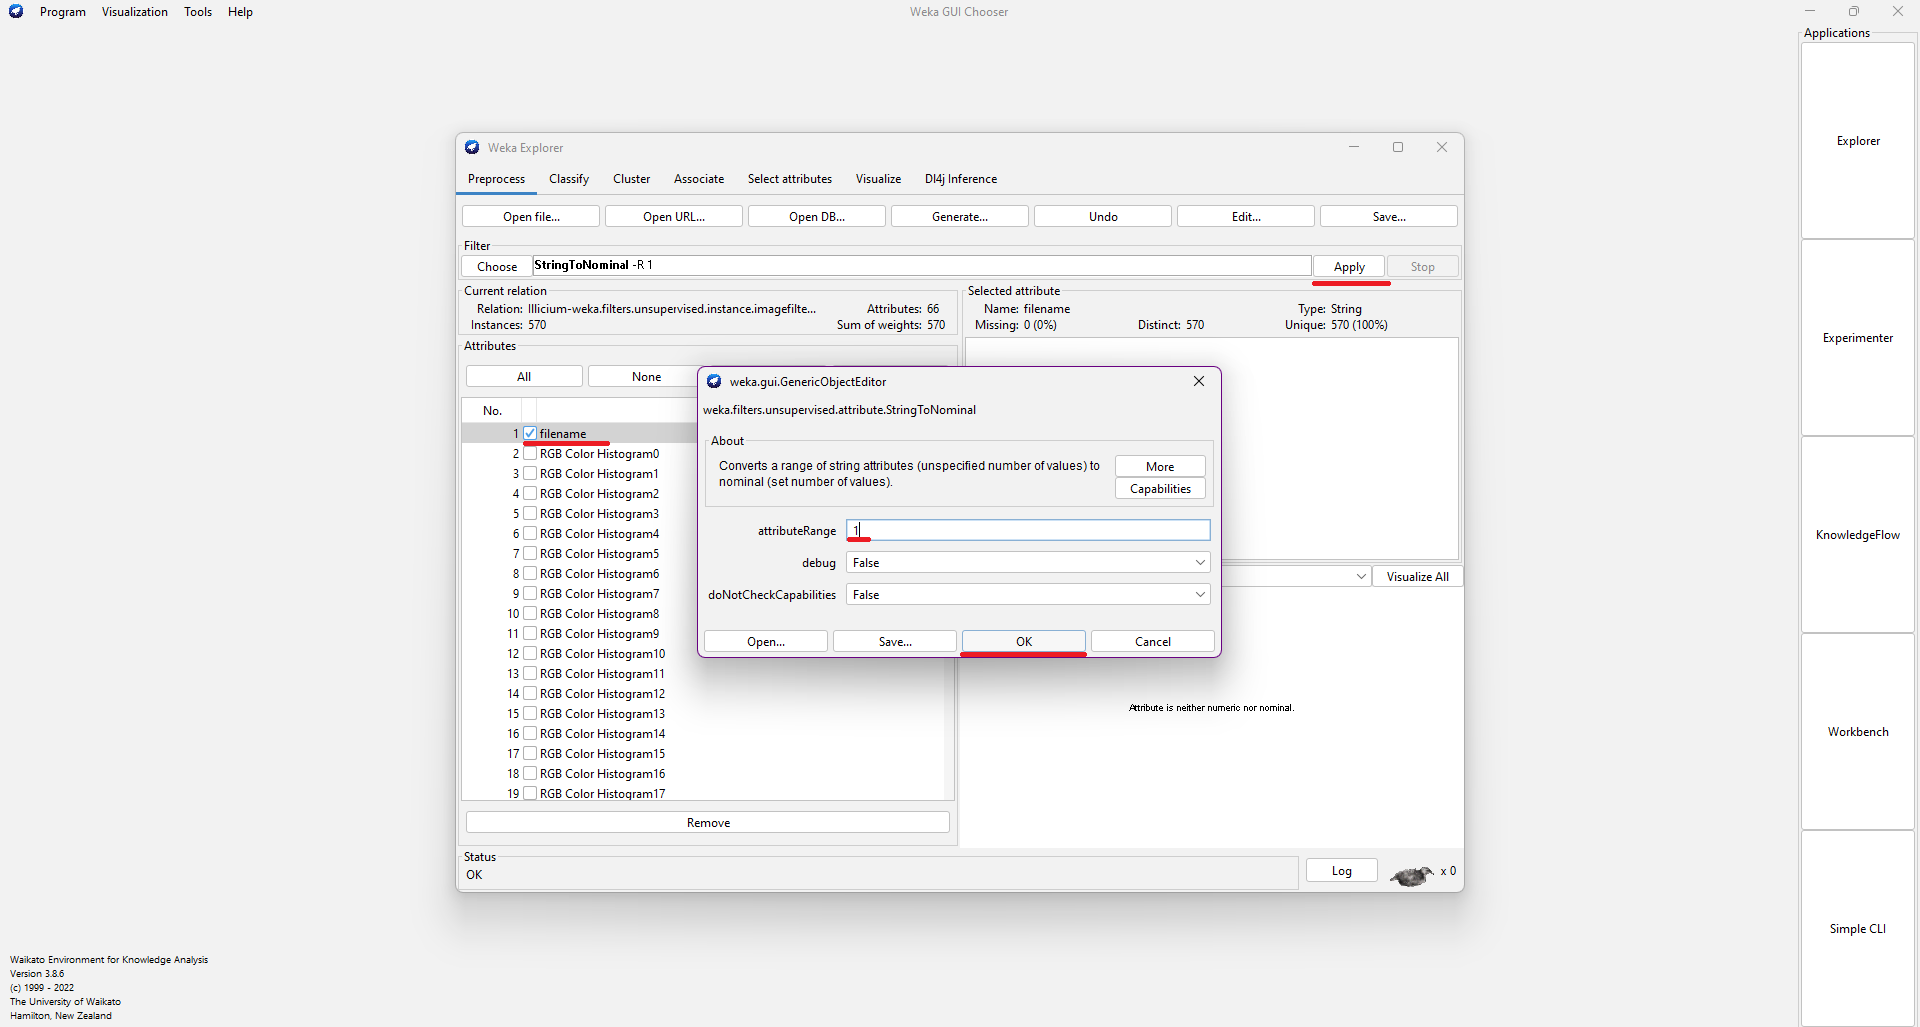
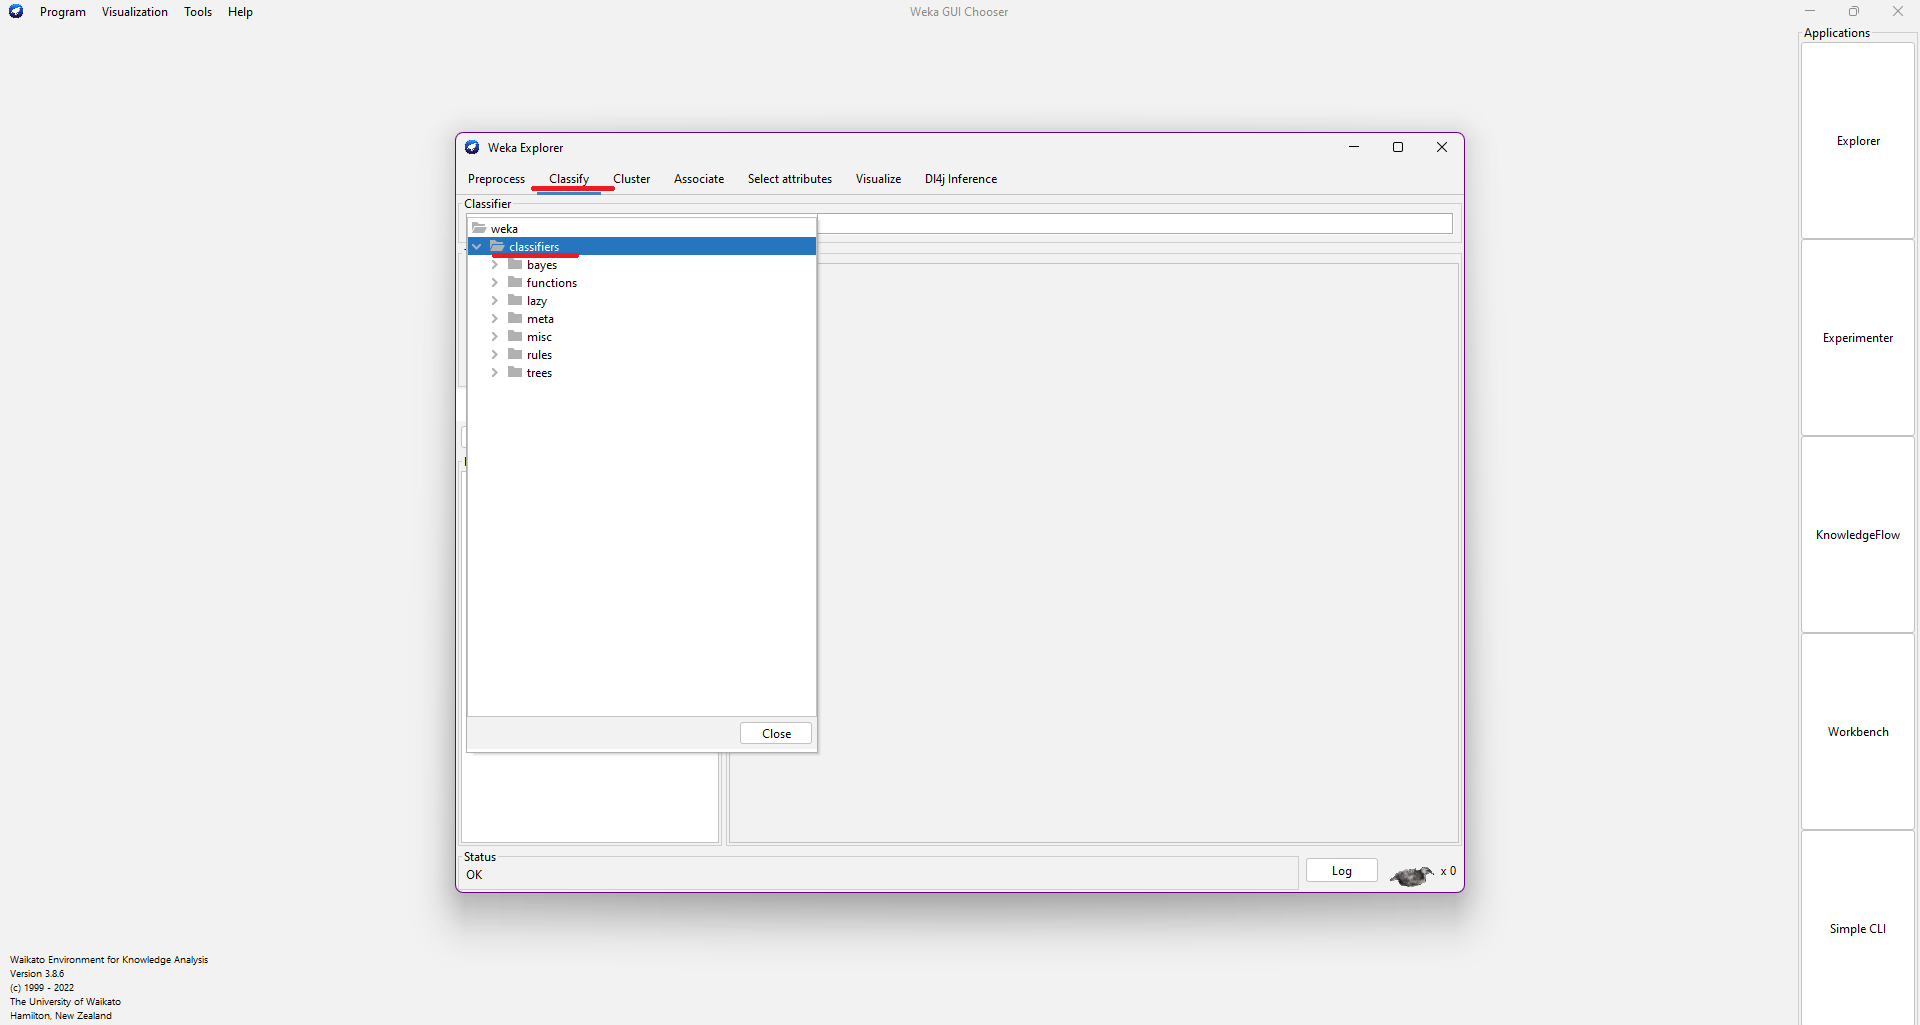
When we have finished our .arff code, we can start working with Weka. When you run the programme, you have to go to the explorer section. Then, you select your .arff code, click on "filename" and add a filter (I used "SimpleColorHistogram", ). Before applying the filter, we have to add the url to the folder of our images. After that, you have to select "filename" again and add the attribute "StringToNominal" with range "1" and apply It. To sum up, you have to go tp the "Classify" section and start trying all the different classifiers to see what classifier is better for your images.
Here you have the process with images (you can open the images in a new tab to see them better):